Continuing
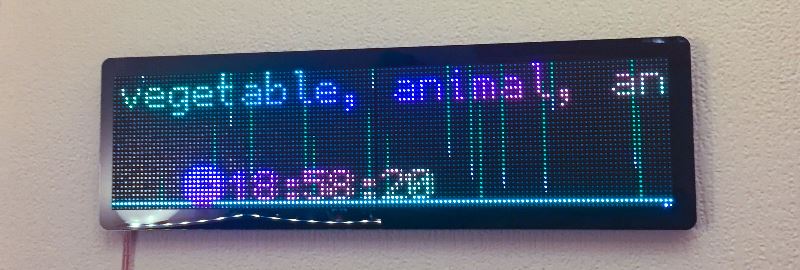
So, the second LED panel came, really quickly. So I was able to get that together with an old piece of acrylic I had lying around. That let me test the Pi Zero rendering 128x64.
I also ordered a new PSU to free up the bench PSU, I found a cheap but reasonable 12A 5Vdc supply. I had to pull it apart to make sure earthing was good on the metal case, but it’s all fine now. It also doesn’t have a fan, which means the panel is silent.
Finally the acrylic laser cut pieces have come, a little after the advertised ETA of 7-28 days after order. So while I’m not ready to write RazorLab off for future projects, I’m also likely to look around at their competitors. That being said, the job they’ve done is of a high quality and I can recommend the product.
Assembling
This was crunch time, had I correctly measured out and laid out everything… for the most part yes.
If I had it cut again, I’d remove the 1mm gap I added between the panels and I over estimated the gap between the panels screw holes by about 0.5mm. Not the end of the world, as the acrylic screw and stand off set gives some wiggle room.

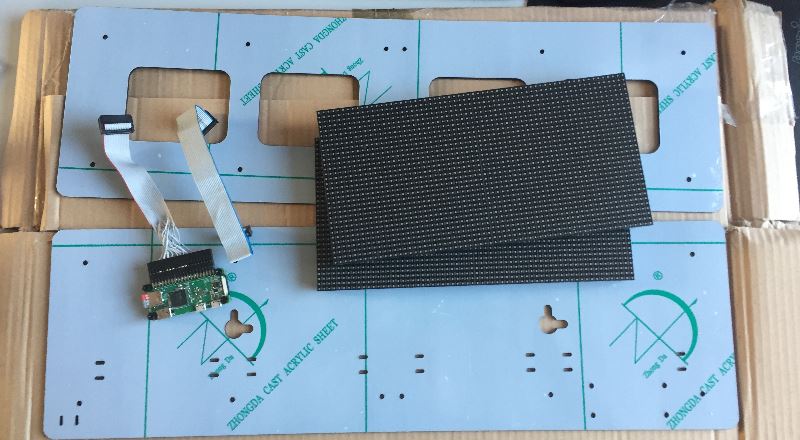
Assembling was pretty trivial, after removing the protective plastic coating on the cut pieces it was easy to screw the LED panels to the front panel with the stand offs.
Attaching the Pi to the bottom sheet was also very easy, with the measurements for that being spot on.
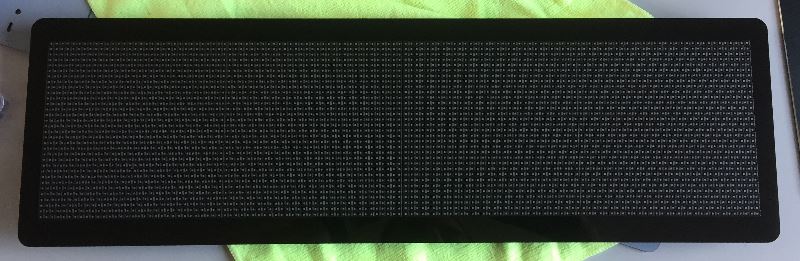
The panel looked good once fully assembled, very clean. Next up was wiring everything up.
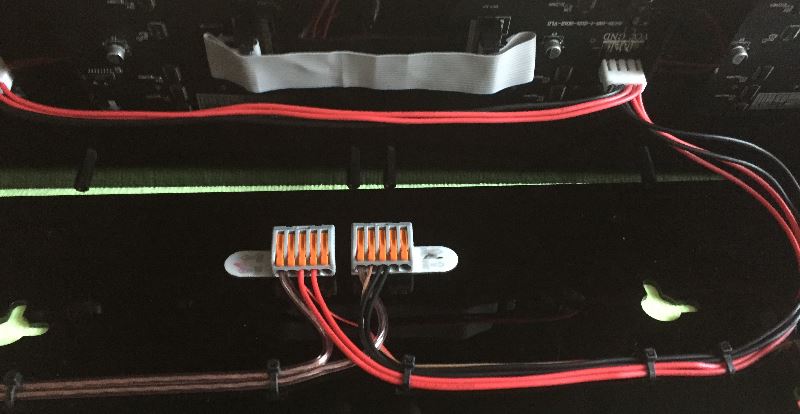
Putting cable management holes in place for cable ties was an outstanding idea and has made keeping everything tidy so trivial. Using Wago blocks as a bus bar for power also keeps cables tidy. The Wago’s are held onto the base with a 3M Command Strip, but there’s little room for them to move regardless.
I kept the cables short so there wasn’t too much to keep hidden in the frame.
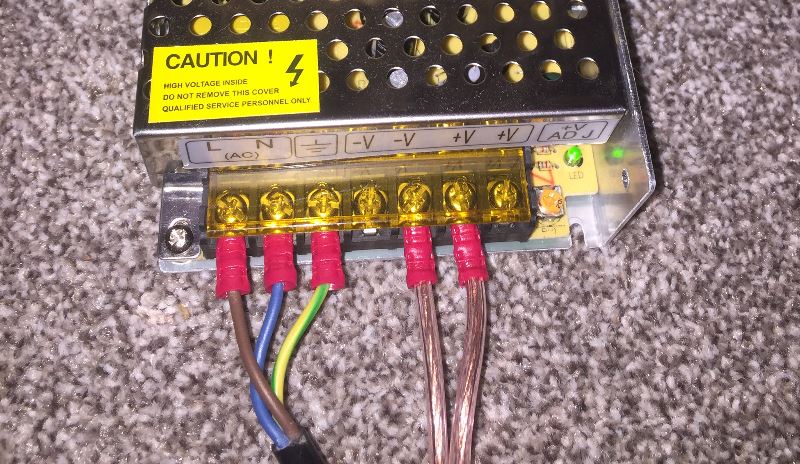
The input cable from the power supply is actually some old speaker wire I had lying around. If I had kids or a dog, I’d find a nice safe box for this. Right now everyone knows not to touch it. So that will do.
And that’s it… it’s done, it’s on the wall with a 258mm distance between mounting holes… next time I’ll just round that up.
Software
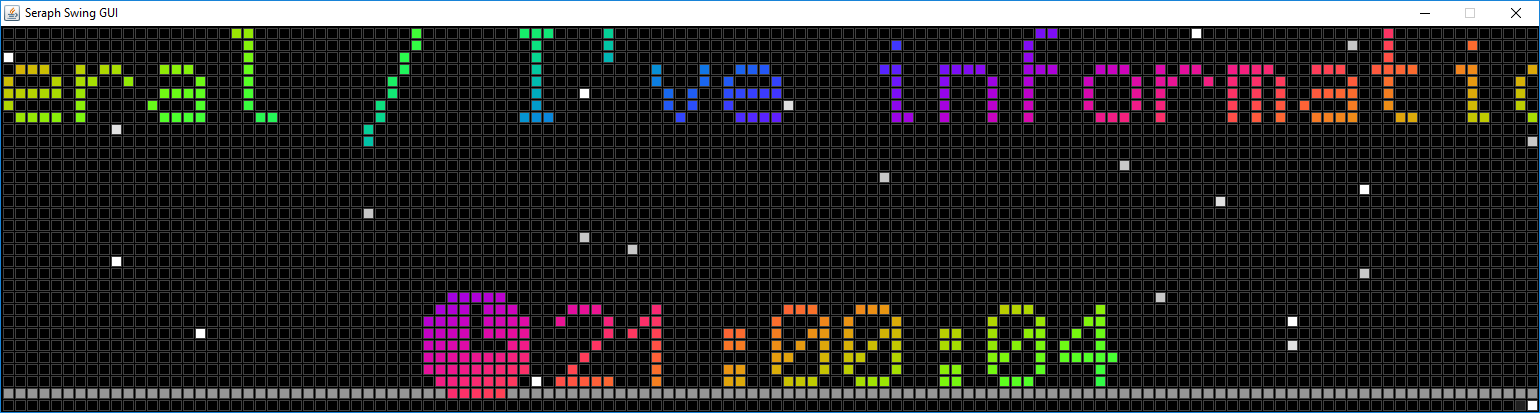
However the hardware is only half of the challenge. While waiting for all the bits to arrive I’ve been working on Seraph which is a toolset/library to drive LED matrix displays.
It also carries an implementation for driving the HUB75 displays with the pixel pusher protocol. However I found a few things I didn’t like with PP, so Seraph also has it’s own protocol which is VSYNC aware.
It’s also vastly more bandwidth efficient if few pixels need updating and can be used to drive key frames. The Seraph server is written in C/C++ mirroring the original work done by Henner Zeller for Pixel Pusher.
The rest of the toolset is written in Java and is not yet complete. There is a library of classes used to construct pixel displays, including layering, masking, paging, scrolling, font rendering, etc.
The most useful component of the information server (i.e. the software which actually decides what’s rendered) is still being worked on. More news on that in Part 3.
So that’s where we’re up to!